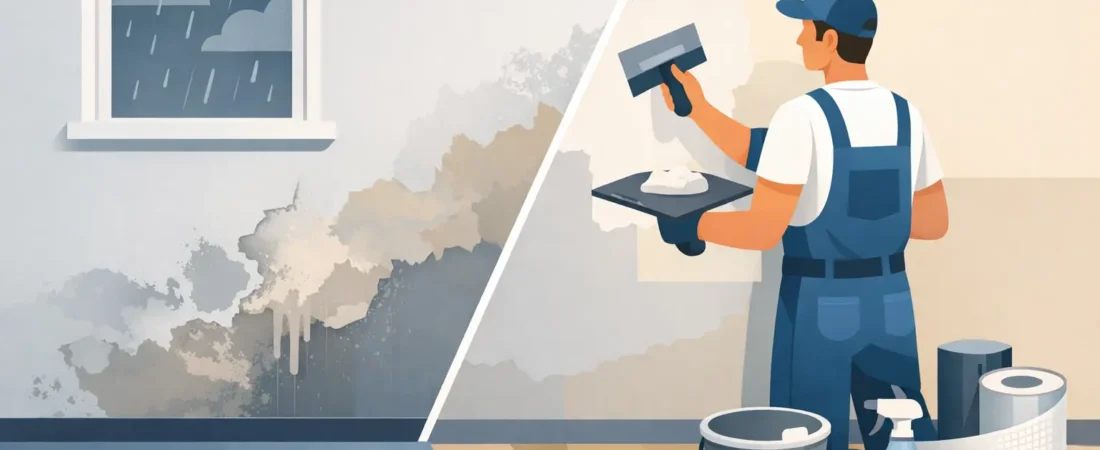
A brown mark spreading above a skirting board, paint bubbling beside a window or a cold, damp-feeling patch on an outside wall can quickly make a room feel neglected. This guide to damp patch repairs explains what to check before reaching for filler and paint. The visible patch is usually only the final symptom. A repair will last only when the moisture source has been found and resolved first.
For London homes, where older brickwork, converted flats, busy bathrooms and ageing pipework are common, the cause can be simple or more involved. Taking the right order of steps protects the finish, the fabric of the property and your budget.
Start by finding where the moisture is coming from
A damp patch should not be treated as a decorating problem alone. Fresh paint may cover the stain for a short time, but trapped moisture can lift it again and may damage plaster, timber or nearby finishes. Start by looking at the patch’s position, when it appeared and whether it changes after rain, showers or using plumbing.
A mark high on an external wall or around a window may point to rain getting in through damaged sealant, cracked rendering, blocked gutters or defective flashing. A patch beneath a bathroom, kitchen or radiator pipe is more likely to be a leak. Condensation is often found in corners, behind furniture, around window reveals and in rooms with limited ventilation. It can leave black mould as well as dampness.
Damp rising from low down a ground-floor wall needs careful assessment. It may relate to a problem with the damp-proof course, high external ground levels or rainwater splashing against the wall. However, low-level damp can also be caused by a plumbing leak or condensation, so it is unwise to assume the cause from appearance alone.
If the wall feels wet, the patch is growing, or there is a musty smell, act promptly. Switch off water supplies where a leak is suspected and contact a suitable professional. If water is close to sockets, switches, wiring or a consumer unit, do not touch the electrical fittings. Keep clear of the area and arrange qualified electrical help.
The sensible order for damp patch repairs
Once the source has been repaired, give the area time to dry before making good. This is where many otherwise tidy repairs fail. Drying time depends on how wet the wall became, the type of construction, room temperature and ventilation. A small leak caught early may dry in days; saturated plaster or masonry can take weeks.
Open windows when the weather allows, use the extractor fan in kitchens and bathrooms, and keep the room steadily heated rather than turning the heating sharply up and down. A dehumidifier can help remove moisture from the air, but it cannot cure water still entering the wall. Avoid trying to speed matters up with intense direct heat, which can crack finishes or hide a problem temporarily.
When the surface is dry, gently press it and inspect it in good light. Sound plaster should feel firm. If it is soft, crumbly, badly cracked or detached from the wall, loose material needs to be removed before any filling or repainting begins. For a larger affected area, it is worth having the wall checked rather than patching around weak plaster.
Check the repair is actually holding
Before redecorating, test the original problem where possible. Run a shower after a bathroom leak has been fixed, inspect gutters during or after rainfall, or monitor a repaired pipe for signs of further moisture. This extra check can prevent the frustration of repairing a wall twice.
Photographs taken before and after work are also useful for landlords, tenants and property managers. They create a clear record of the issue and show whether the patch returns in the same place.
Preparing the wall for a clean finish
Once the wall is dry and stable, protect the room with dust sheets and remove any flaking paint, wallpaper or loose filler. Scrape carefully rather than digging deeply into sound plaster. Brush away dust, then wipe the surface only if necessary and allow it to dry again.
Any mould should be dealt with using a product designed for mould removal, following the manufacturer’s instructions and ensuring good ventilation. Wear gloves and avoid dry-brushing mould, as this can spread spores. Mould treatment is useful, but it is not a substitute for improving ventilation or fixing the damp source.
Minor surface cracks and shallow areas can usually be filled, allowed to dry and sanded smooth. Use a filler suitable for interior walls and build up deeper areas in thin layers if required. Where there is a larger hole, damaged plaster or a visible stain that keeps bleeding through, the repair may need a stain-blocking primer, renewed plaster or more thorough investigation.
Older properties need a little extra care. Traditional solid walls, lime plaster and some period finishes manage moisture differently from modern cavity walls and gypsum plaster. Using an overly hard or non-breathable material in the wrong place can cause further problems. If you are unsure what the wall is made from, ask before applying coatings or sealers.
Painting after damp damage
Do not paint until the repaired area is fully dry, smooth and free from dust. If a brown water mark remains, apply a suitable stain-blocking primer before the top coat. Standard emulsion alone often allows old stains to show through again.
Match the paint finish to the room. A washable bathroom or kitchen paint can be sensible in areas exposed to steam, but it will not overcome poor extraction. In bedrooms and living rooms, move furniture a short distance away from cold external walls and avoid packing cupboards tightly against them. Air circulation makes a genuine difference in condensation-prone rooms.
For a neat result, repainting a full wall is often better than touching in a small rectangle. Even the correct colour can look different where old paint has faded or developed a different sheen. It depends on the age of the existing decoration and how visible the wall is in the room.
When a small patch is not a small job
Some damp patch repairs are straightforward once a leaking trap, failed sealant line or ventilation issue has been put right. Others point to defects outside the room, behind a wall or beneath a floor. Call for professional help if the patch repeatedly returns, affects a large area, comes with a strong musty odour, or causes plaster, flooring or timber to deteriorate.
A professional assessment is particularly worthwhile where several rooms are affected, mould keeps coming back, external brickwork looks damaged, or a tenant needs a clear record of repairs. The right person can identify whether the job involves plumbing, roofing, external maintenance, plastering, decorating or electrical safety. Coordinating the work properly is often less disruptive than arranging separate visits after each temporary fix fails.
Preventing the next damp patch
Prevention is mostly about regular, practical checks. Keep gutters and downpipes clear, look over window and bath sealant, repair dripping taps and traps promptly, and use extractor fans during cooking and bathing. After showers, leave the fan running for long enough to clear the humid air. If it is ineffective or noisy, it may need cleaning, replacement or better ventilation provision.
During colder months, maintain gentle background heating and ventilate briefly but regularly. Drying clothes indoors adds substantial moisture to the air, so use a vented space, a condenser dryer or a dehumidifier where possible. In a flat, check that any shared or neighbouring leak has been reported early, as the source may not be within your own home.
Damp patches are easier to repair when dealt with at the first sign of trouble. Handy House can help homeowners and local property managers identify the practical work needed, repair affected areas carefully and leave the room ready to enjoy again.